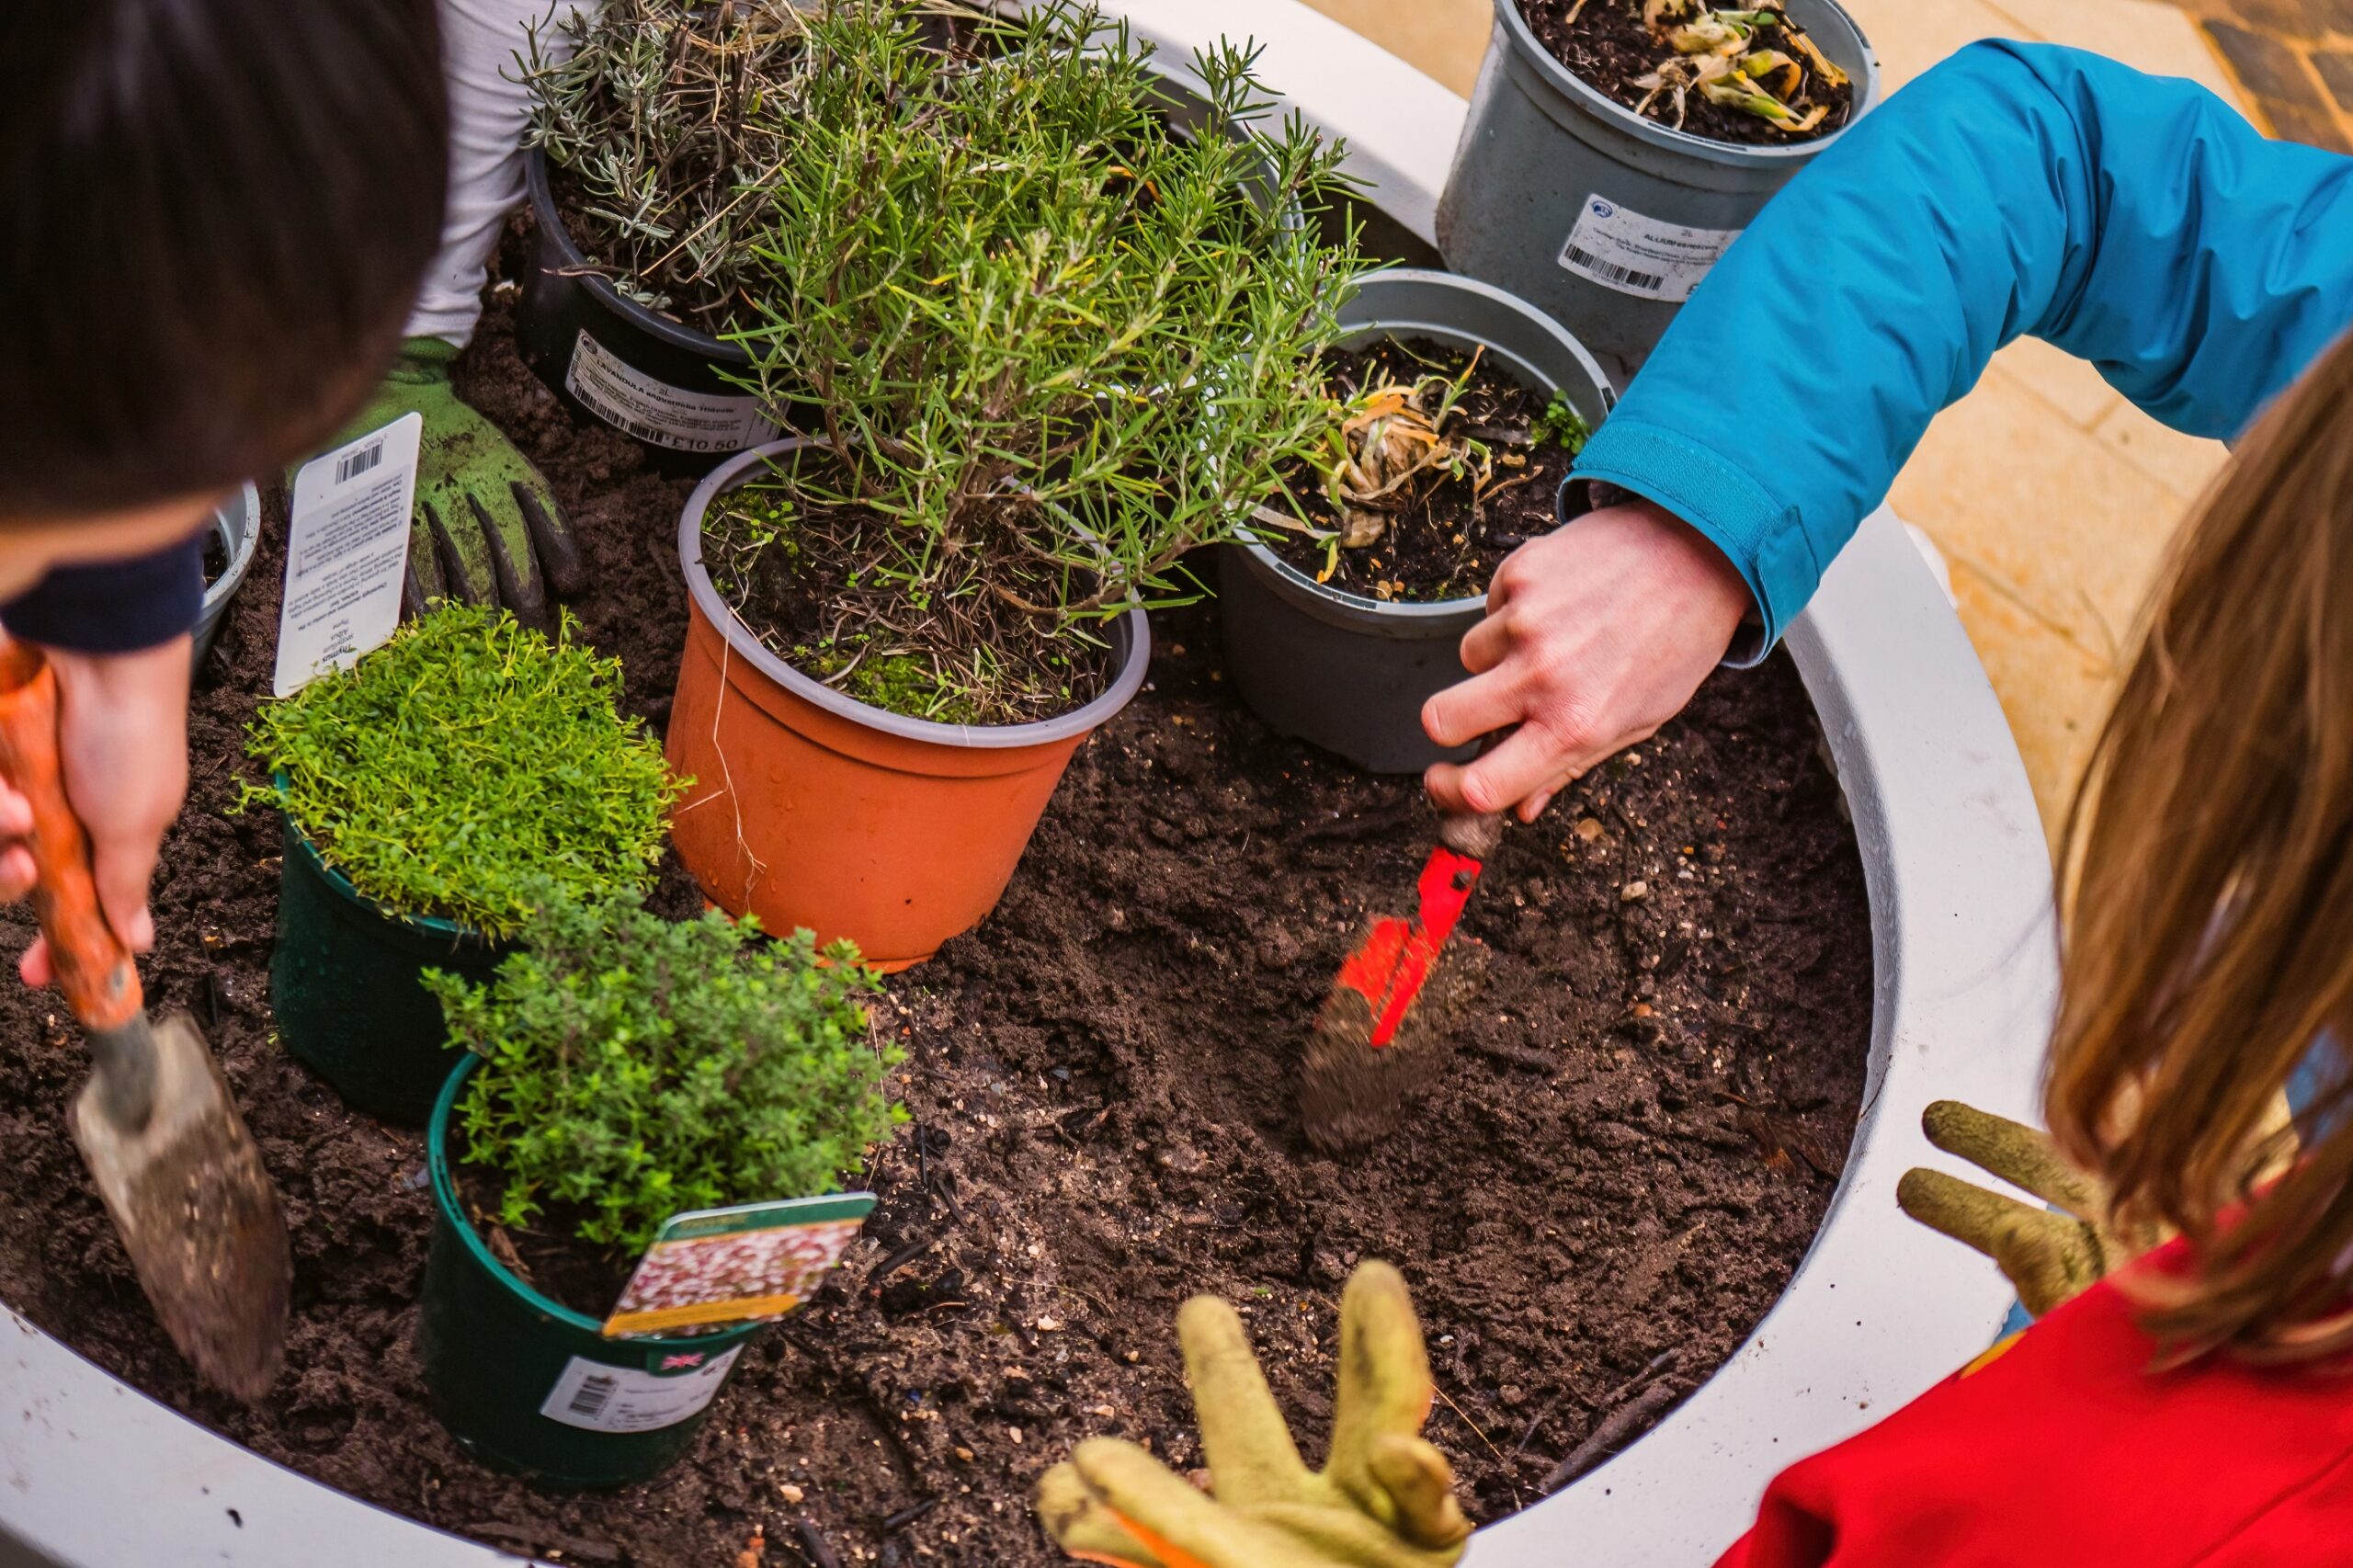
Creating a rain garden
Creating a rain planter is an achievable task for any experienced gardener or crafty person. There is no need to alter the existing drainage system; it is simply a case of re-routing the water that runs off your roof.
The following steps give an overview of the process to provide an idea of the main principles. There are links to further guidance and training at the bottom of this page.
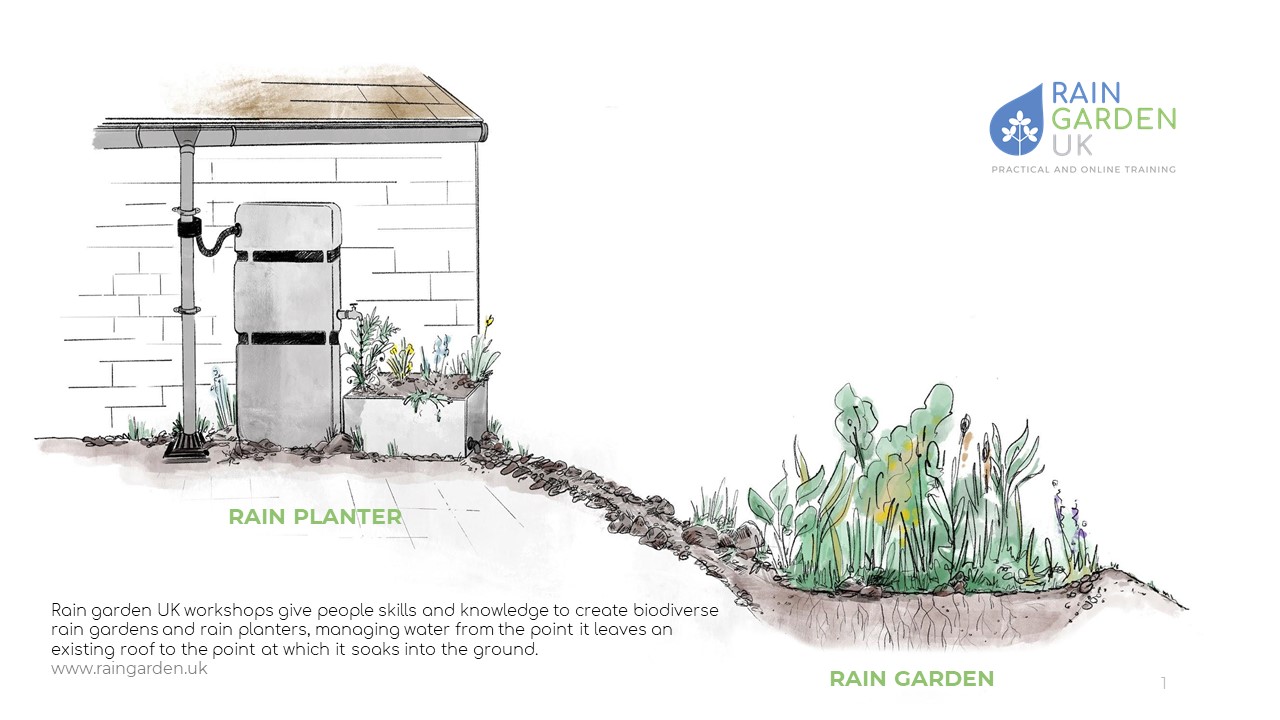
Decide what type of rain garden you would like to create
Whether you install a rain garden as a planter or a rain garden in the ground will depend on space, location, existing soil permeability and the amount of water to be diverted into the rain garden.
The main principle is to take water from an impermeable area like a roof and divert it through a specially designed planter or garden, so that it can be taken up by plants rather than going in to the drainage system.
Prepare to create your rain planter
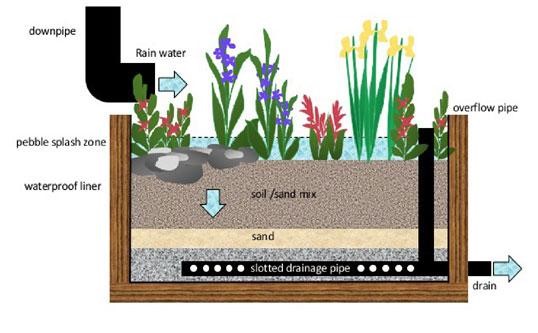
If you are using a planter, you will need to ensure that it is sealed so water does not seep out. You can do this by using a waterproof liner. Next, you will need to install a slotted drainage pipe to allow water to drain out of the planter and an overflow pipe to allow water to escape if the planter becomes saturated.
Planters will need to be layered to achieve good drainage. You can put gravel in around the drainage pipe, followed by a top filler mix of 5 parts sand, 4 parts compost and 1 part topsoil. Do not fill your planter to the top, leave about a 10cm gap. It is best to place stones or gravel at the point where water comes in.
Creating a rain garden in the ground
For a rain garden in the ground, you will need to test soil permeability. This is the rate at which water can soak into the ground.
How to test soil permeability
Dig a hole in the ground about 25cm (10in) deep and fill it with water. When it’s empty, fill it up again, and record how long it takes the water to sink in to the soil completely. Ideally, it will drain at about 1.25cm (½in) an hour. If it takes longer it may still work – up to about 5cm (2in) per hour. If it’s longer than that, it might mean that your soil isn’t suitable for a rain garden, so it would be better to create a planter.
If you are creating a rain garden in the ground, you will need to dig out the soil, creating a saucer shape with a flat base. Make this at least 3m from the building. You can use the soil you remove to create a lip or berm around the edge, be sure to leave a gap to allow to any overflow to escape.
Plants can be planted directly into your rain garden in the ground, but be careful not to compact the soil. If you are directly connecting your rain garden to a downpipe you can use stones or gravel around the outlet to prevent flows from washing the soil away.
Planting your rain garden
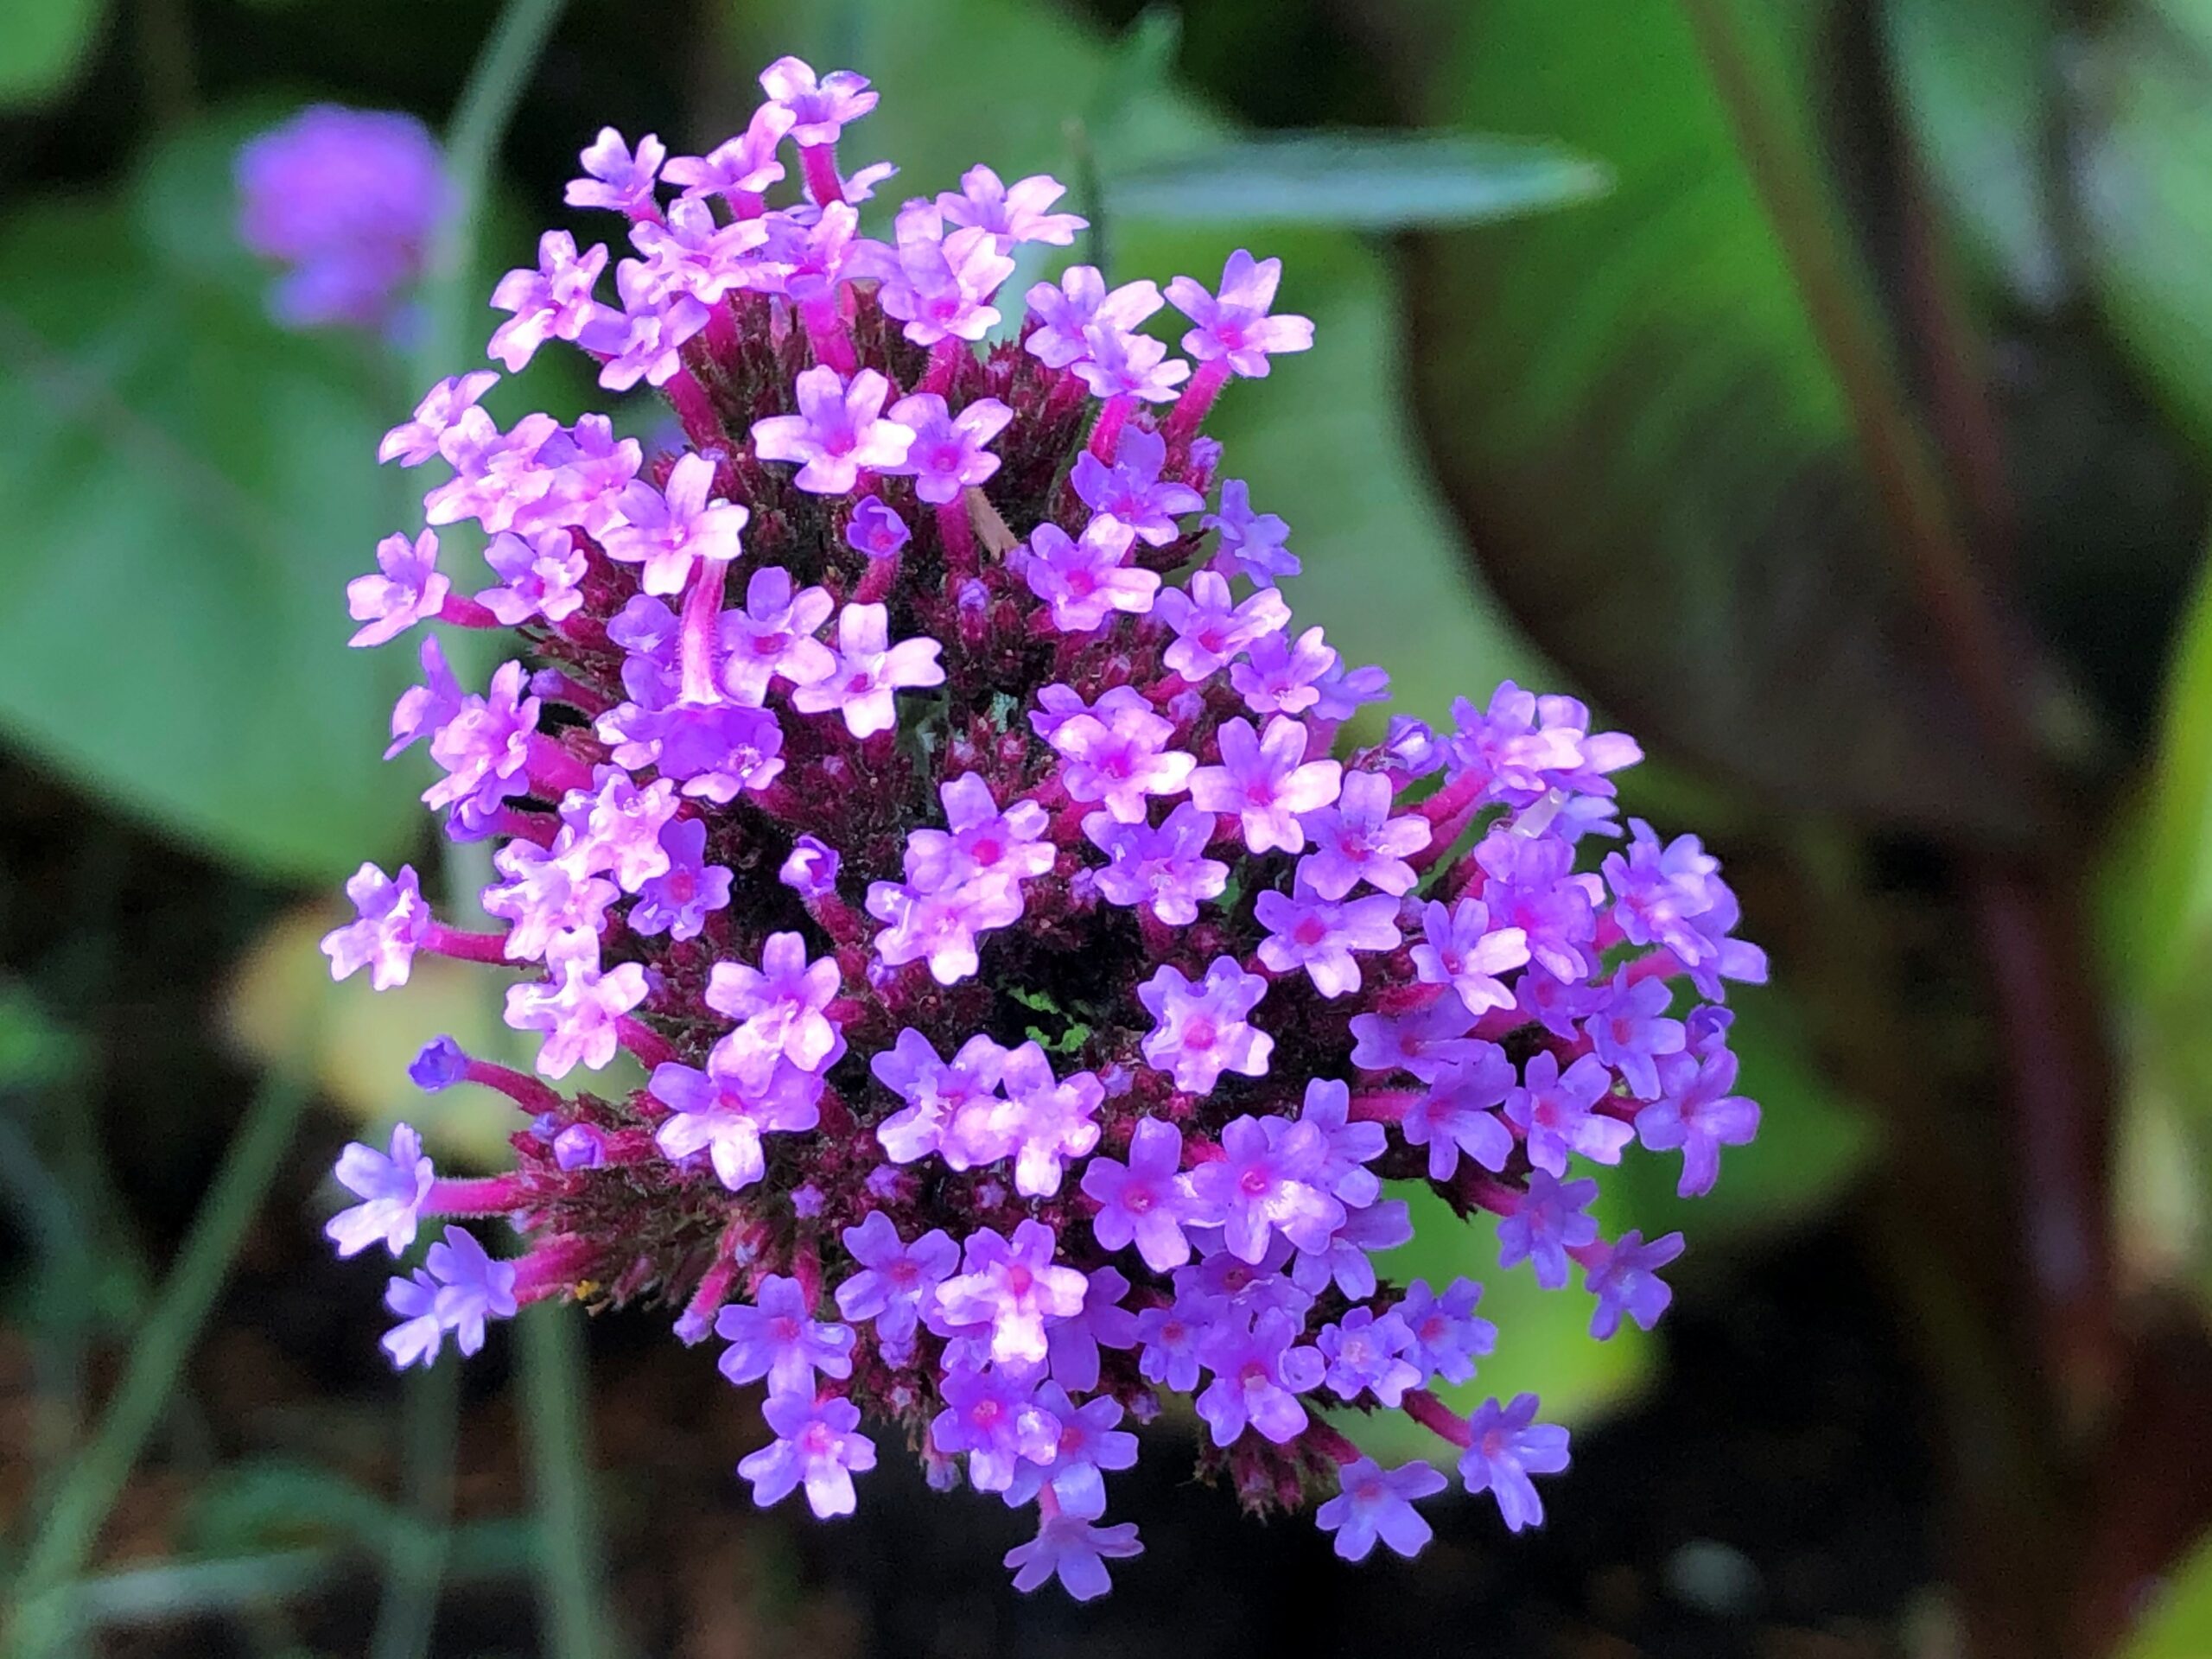
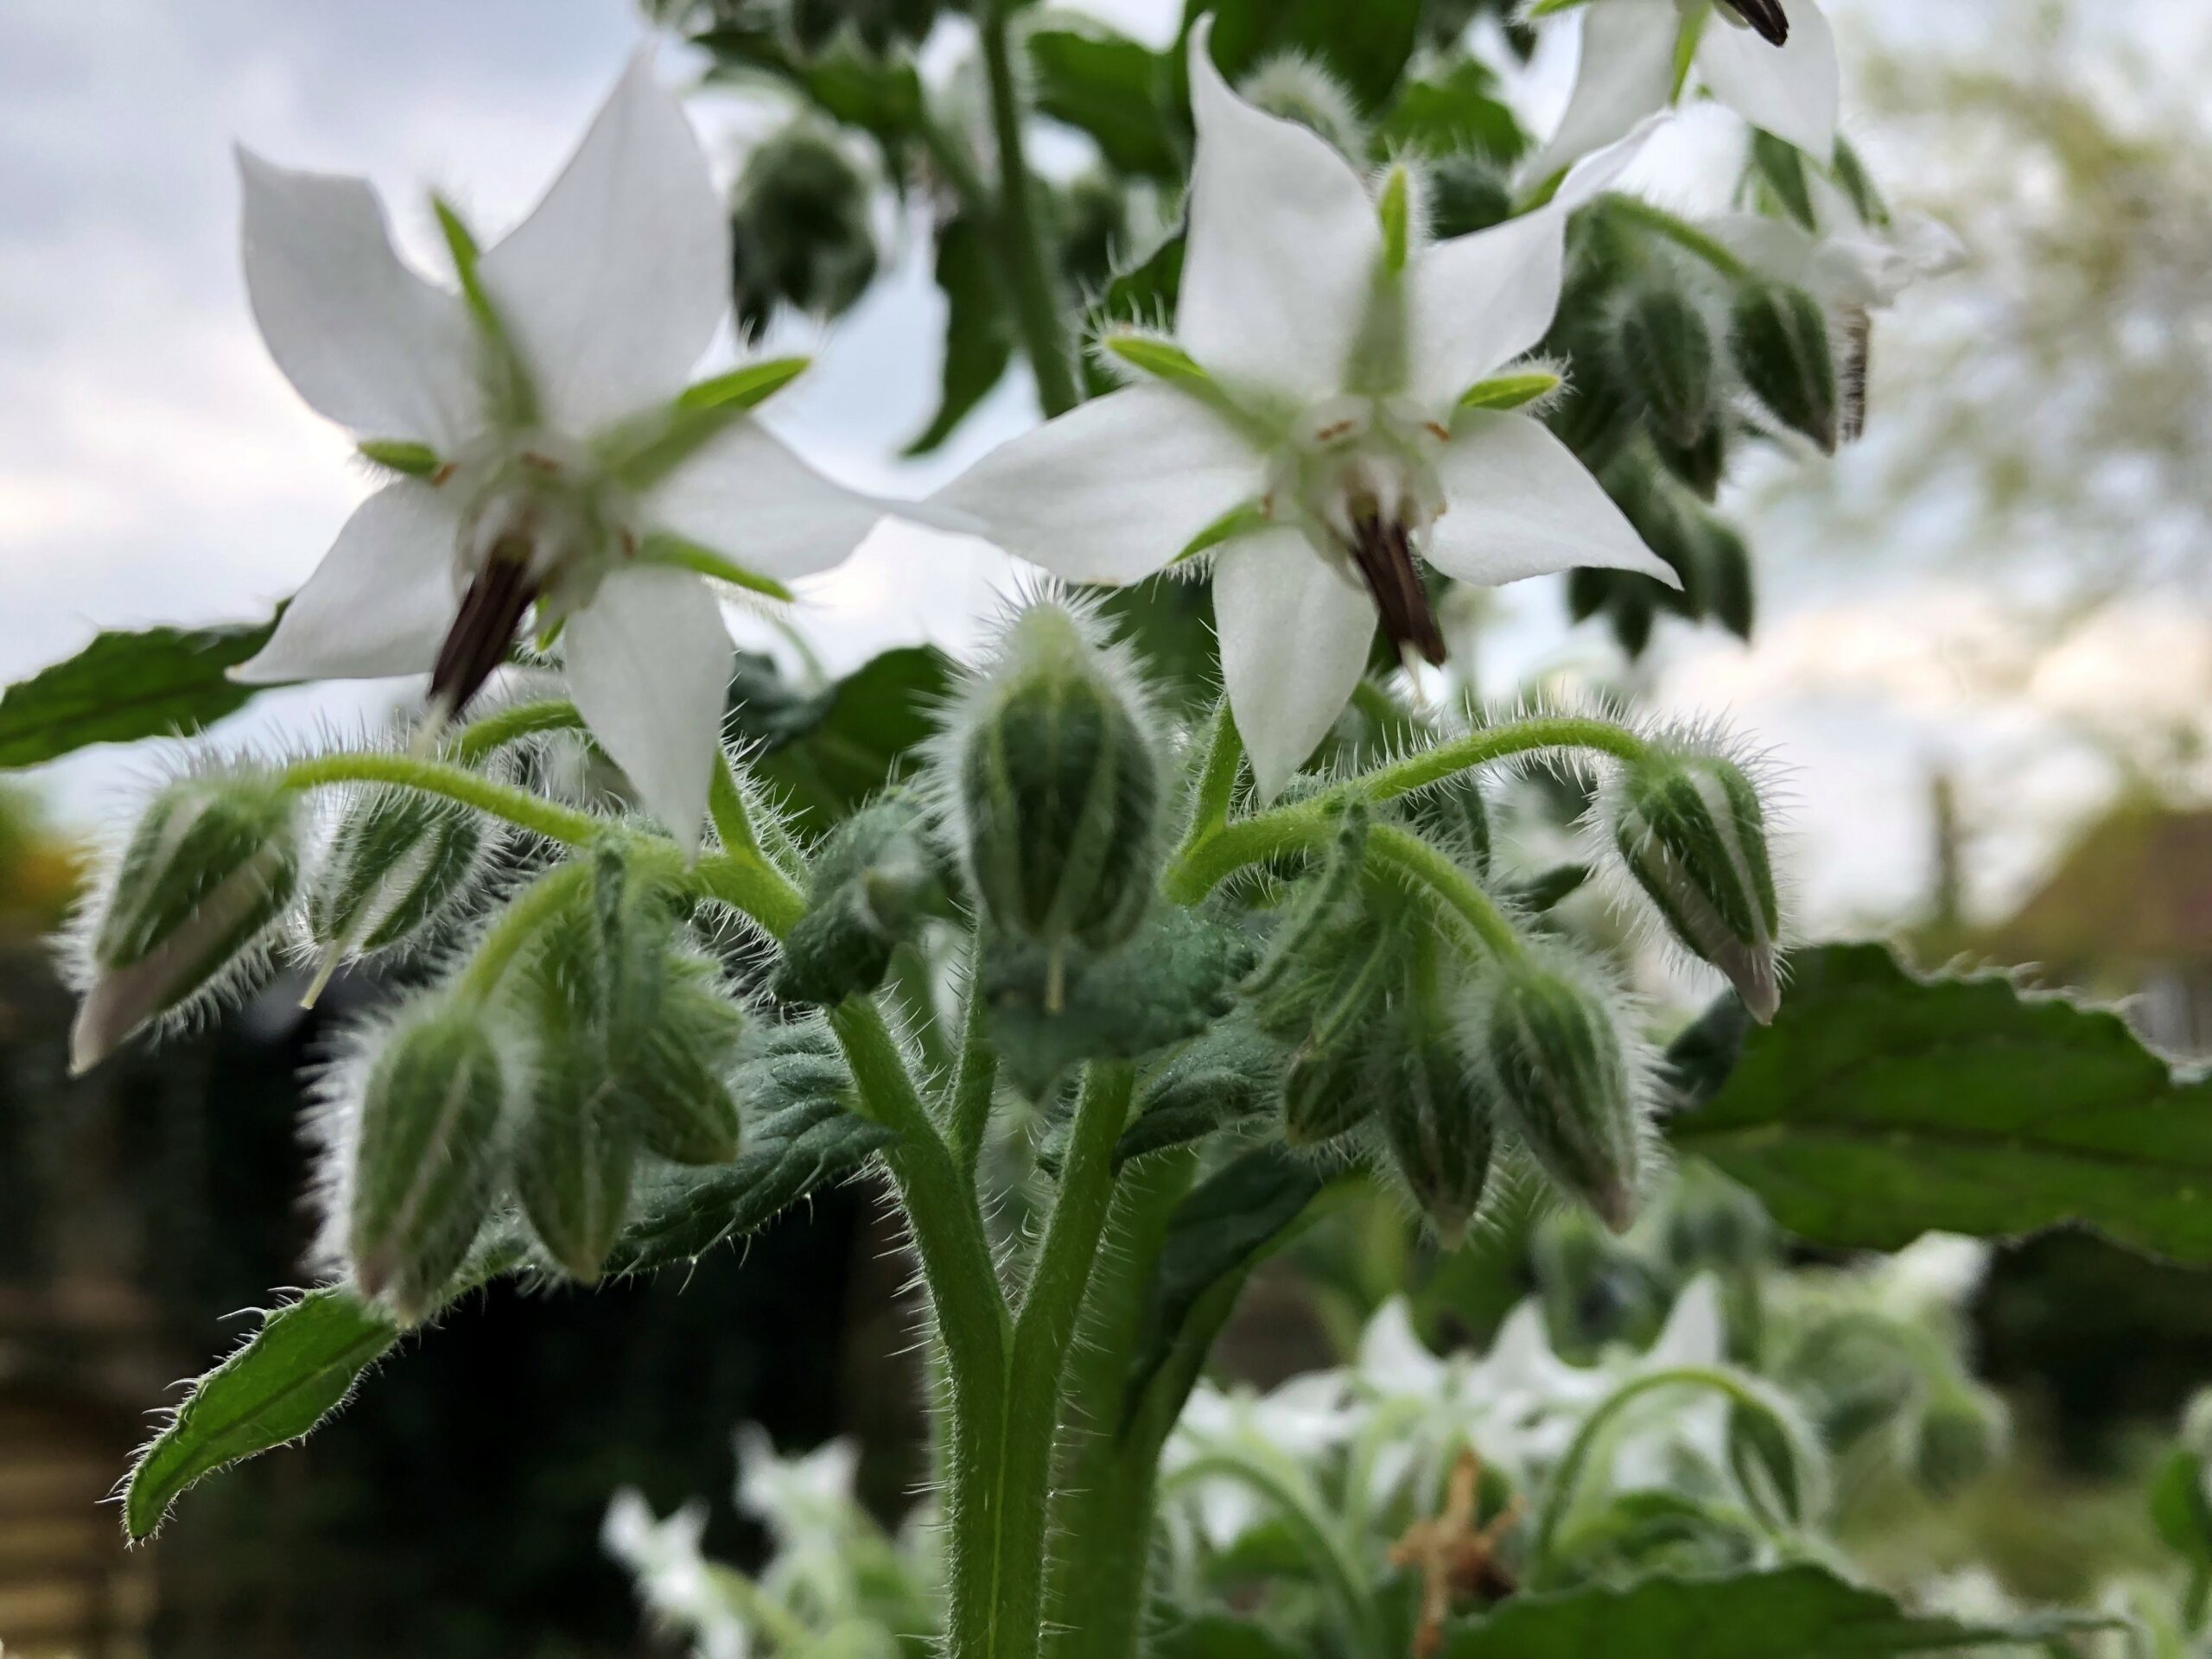
For both types of rain garden, you can plant native perennial plants, evergreen grasses, rushes and sedges. Having a good mix of plant species will not only create an attractive rain garden but will also allow it to establish well even if one species does not survive. You can use plant species that are tolerant of both wet and dry conditions and are suited to the sunlight conditions, focusing the more wet tolerant species near the inlet. Typically, 6-10 plants can be planted per square metre.
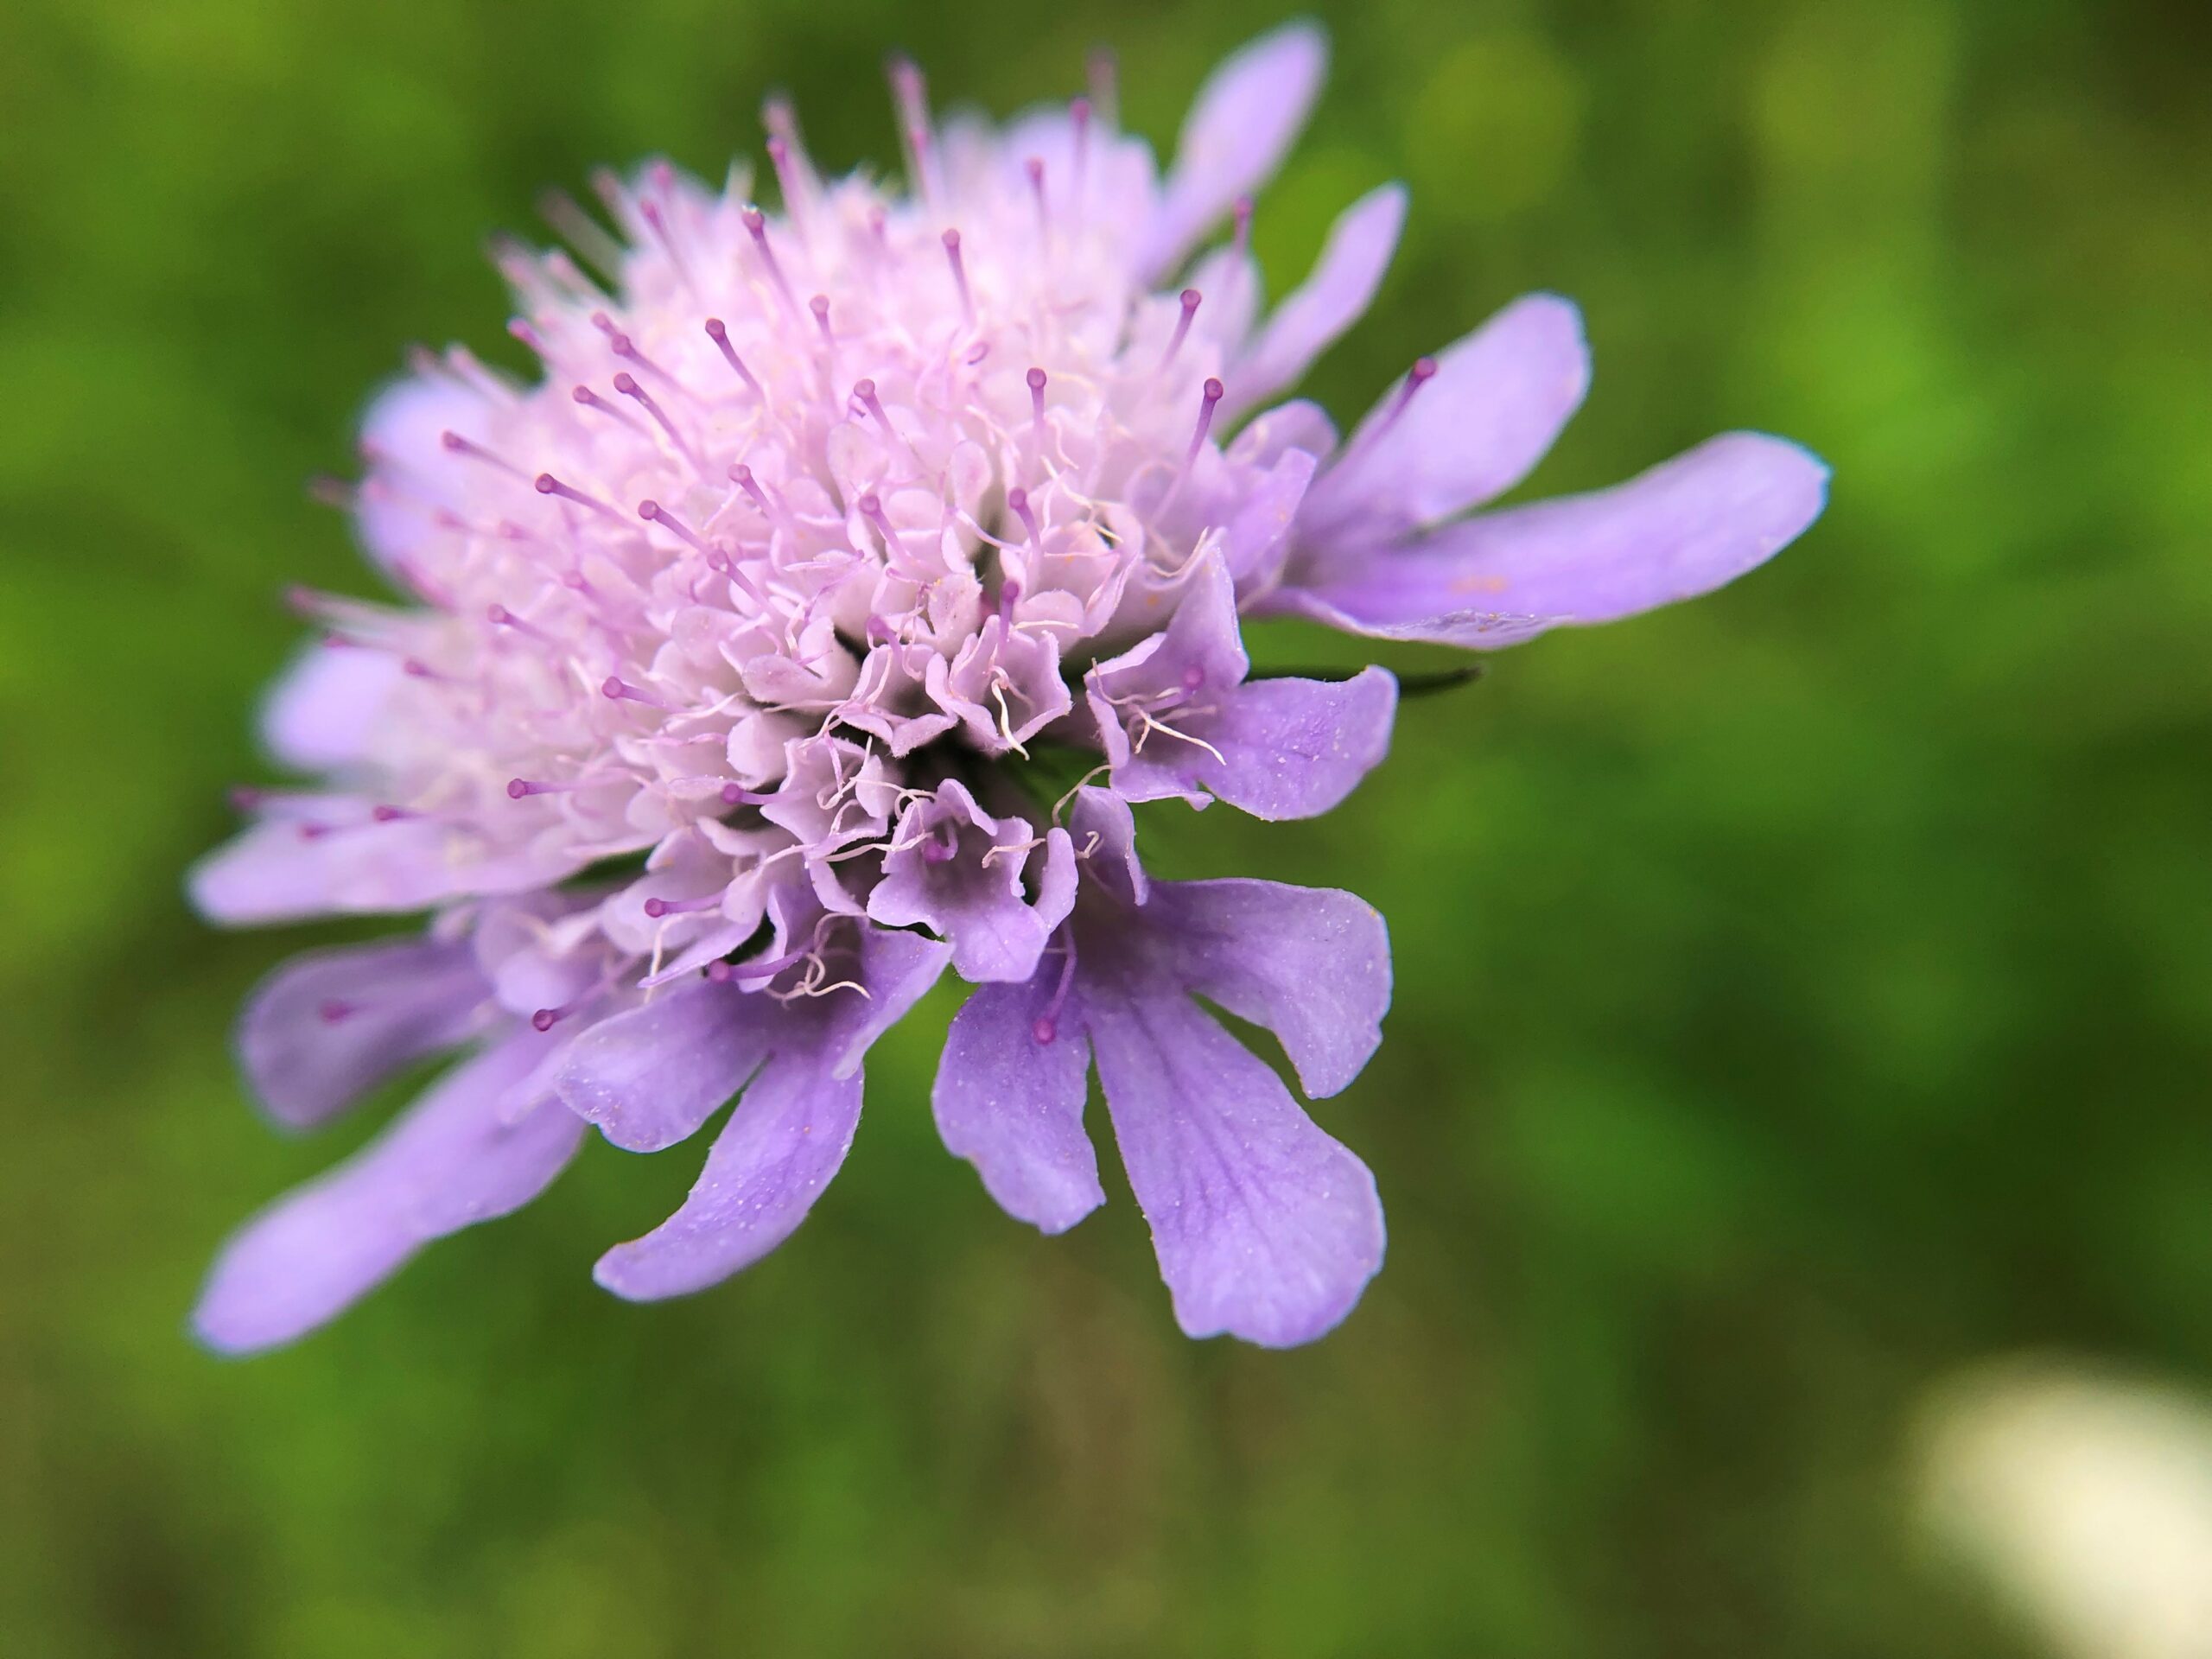
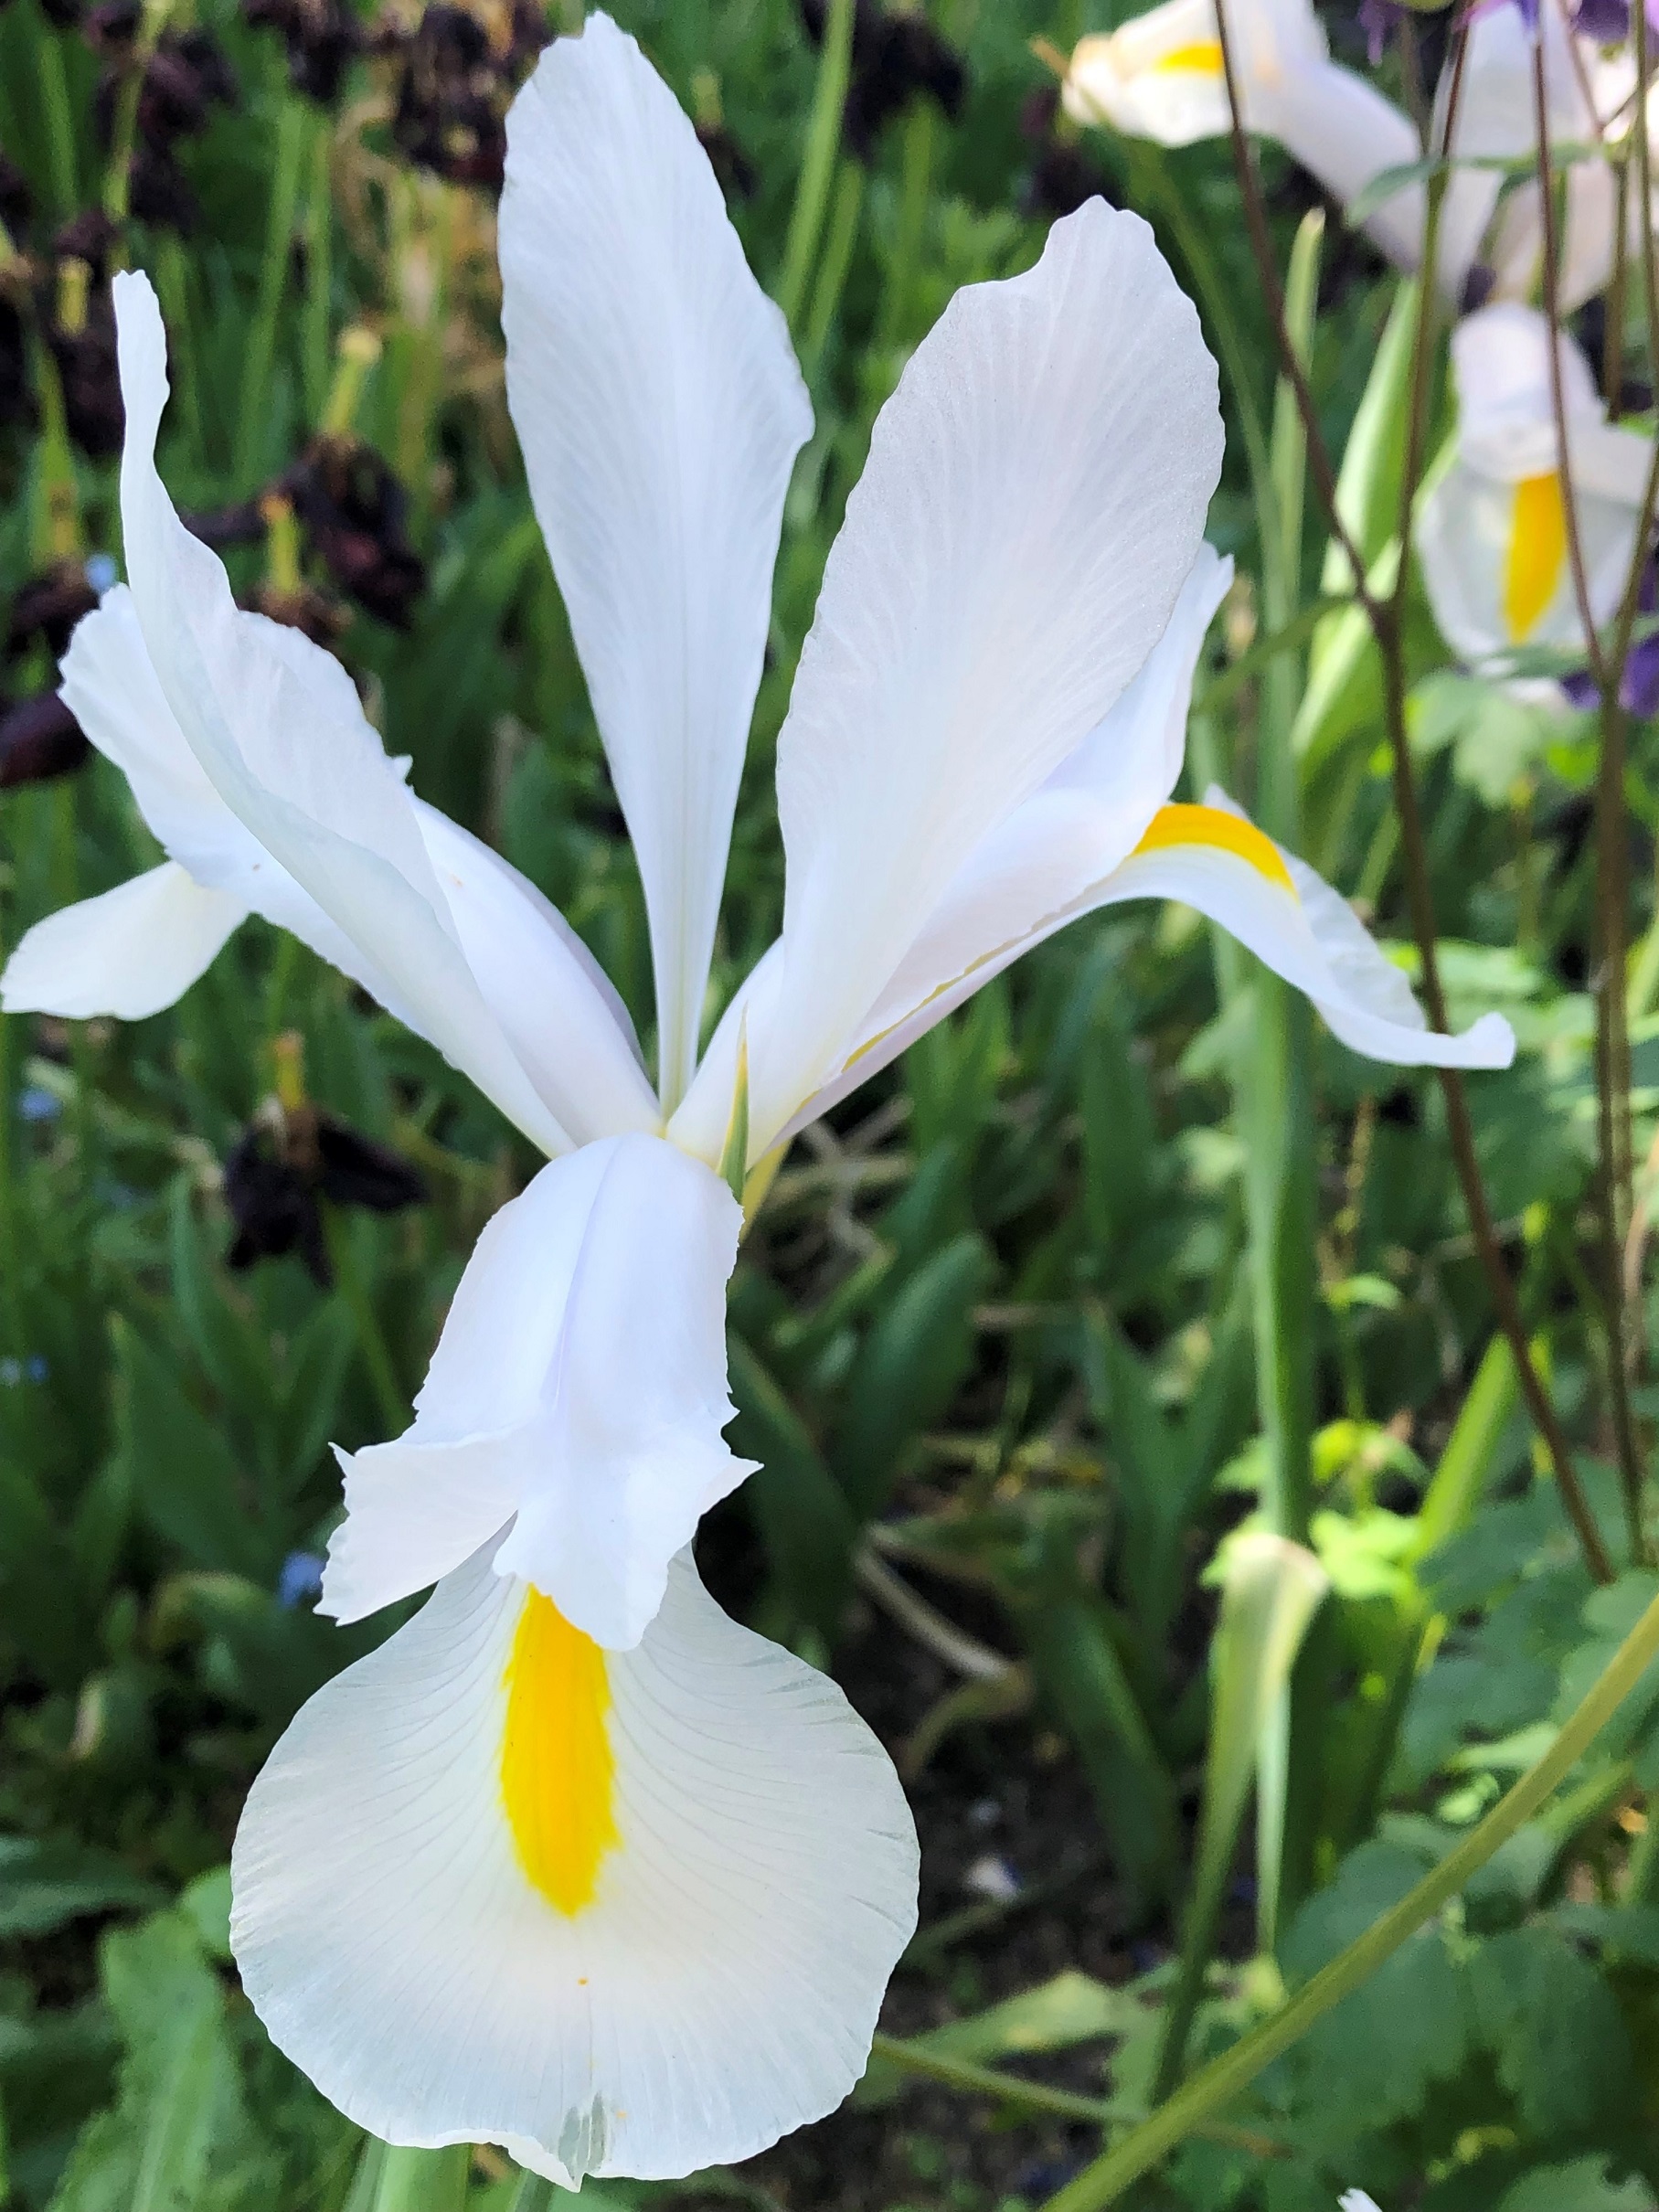
Some suitable species for a rain garden:



Divert water into your rain garden
The base of a downpipe from a small roof can be redirected into a rain planter. Or if you have a water butt installed, this could overflow into a rain planter.
A channel or rill can lead from any of these features onwards into the garden, where a rain garden in the ground (at least 3m away from the building) allows excess water to soak in slowly.
Maintenance
At first, your rain garden will need a little maintenance such as weeding and some watering to get the plants established, but as your rain garden matures, weeds should be out-competed by the plants in your rain garden.
Once established the rain garden will need minimal maintenance, with some watering in particularly dry periods, and thinning if plants get too crowded.
Next page


 Chrome
 FireFox
 Edge
Edge